


Choosing a pitch and setting up camp
Knowing how to set up a campsite is vital if you want to make the most of your camping trip.
Choosing a good pitch will ensure that you're comfortable, not exposed to the elements and have enough space. A good campsite layout will help your holiday run smoothly and make hanging out at your tent campsite a pleasure. And a camping trip can be great fun even in bad weather, provided your tent is securely pitched and well-positioned.
Choosing the best pitch
There are a number of things to consider when choosing a pitch, and inevitably some compromises to make. There is no universal best pitch!
You need to think about the location of the pitch within the campsite in relation to amenities, views and so on - and you need to consider the physical characteristics of the pitch itself.
Depending on the season and how busy your campsite is, you might have a limited choice of pitches. If your campsite has a map online, study it beforehand and scope out the campsite on arrival to get an idea of where everything is and what your options are.
Pitch location
When it comes to choosing the best location for your pitch, there are several things to think about. Your priorities will depend on your choice of campsite and what facilities they offer, but it's worth giving them some thought before setting up.
- Bathrooms and amenities - Do you want to be close to the amenities? The benefit of being close is that you don't have far to walk when you want to shower or use the toilet (which can be convenient during the night). However, bathroom areas are busy places in campsites so you'll experience more foot traffic near your camping pitch and you may be kept awake by lights at night.
- Facilities - Swimming pools, games rooms, restaurants and bars can be noisy and have a heavy footfall, but if you are planning on spending a lot of time using these facilities it might make sense to camp near them. Play areas for kids are noisy, but if you have small children you might want to be able to keep an eye on them from your tent. If you camp near the campsite entrance there will be cars coming and going, sometimes late at night. Do you want convenience or peace and quiet?
- Views and location - Pitches at the edge of the campsite might offer superb uninterrupted sea, lake or river views and being 30 seconds walk from the beach could be fantastic. But these pitches will probably be further from the amenities. You might also want to consider how close you camp to the water's edge, insects congregate around water.
- Neighbours - Check out the neighbouring pitches and try to gauge what sort of people and groups are camping nearby. What type of camper are you? If it looks like a family with tons of kids, expect children playing and running around. If it looks like a group of young people, you might get a bit of noise later at night. Try to choose neighbours that fit in with your style of camping so you don't annoy them and they don't annoy you.
- Privacy - How much privacy do you want? Consider how overlooked the pitch is, how close it is to your neighbours, how close it is to the road or any footpaths, and whether it offers any privacy. If you have a choice of pitches then opt for one that is out of sight of other campers - privacy can make all the difference to your trip enjoyment and you reduce the risk of getting disturbed at night and likewise disturbing others.
Pitch characteristics
Once you have decided on the area you would like to camp in, and assuming you have a choice of pitches, you then need to consider the physical characteristics of the pitch itself. If the campsite offers you a bad pitch, don't be afraid to ask for a different one.
- Flat Ground - As a general rule, you want your pitch to have relatively flat ground to pitch your tent on. Some campers prefer a very slight slope which can make your sleeping position more comfortable and is beneficial for water drainage.
- Check water flow - You should choose a spot where rainwater isn't going to flow or gather, so steer clear of depressions in the ground and choose somewhere that is well drained.
- Shelter - Check the prevailing wind direction and weather conditions. The best pitches have hedges, bushes, fences, walls and other structures that will protect you from the wind and offer you some privacy. Bear in mind that you might want a bit of breeze if it is hot and this will also help keep insects away. If it is very hot it's a good idea to camp somewhere that will offer shade for your tent. If the area is completely exposed, such as the top of a hill or a ridge, then consider choosing somewhere slightly lower down the hill that offers better protection from the elements.
- Trees - Trees can look appealing because they offer shade and shelter. But the grass beneath them is often poor and roots can make the surface very uncomfortable. Trees might also drip sap, attract birds, drip heavily after rainfall and be dangerous in storms.
- Size - it is very important to make sure the pitch is big enough for your requirements. Will your tent and car fit easily and still leave room for an eating and recreation area? If you are camping in a group you may want to fit a couple of tents in, is there space to arrange things properly?
Laying out your camp
Once you have chosen (or been given) your pitch, it is now time to plan the layout of your camp. Think about the layout of your house at home and how you will be spending your holiday, most of the things you do at home you will still do at your campsite!
You will need to consider the following:
- The best place to pitch your tent (see below) or the best way to arrange multiple tents.
- Where to park your car if you have one (cars can be a useful windbreak).
- Setting up areas for cooking and preparing food (never cook in your tent).
- Setting up areas for eating, relaxing and chilling out. Think about where you can place your table and chairs if you have them, if you will require shade and so on.
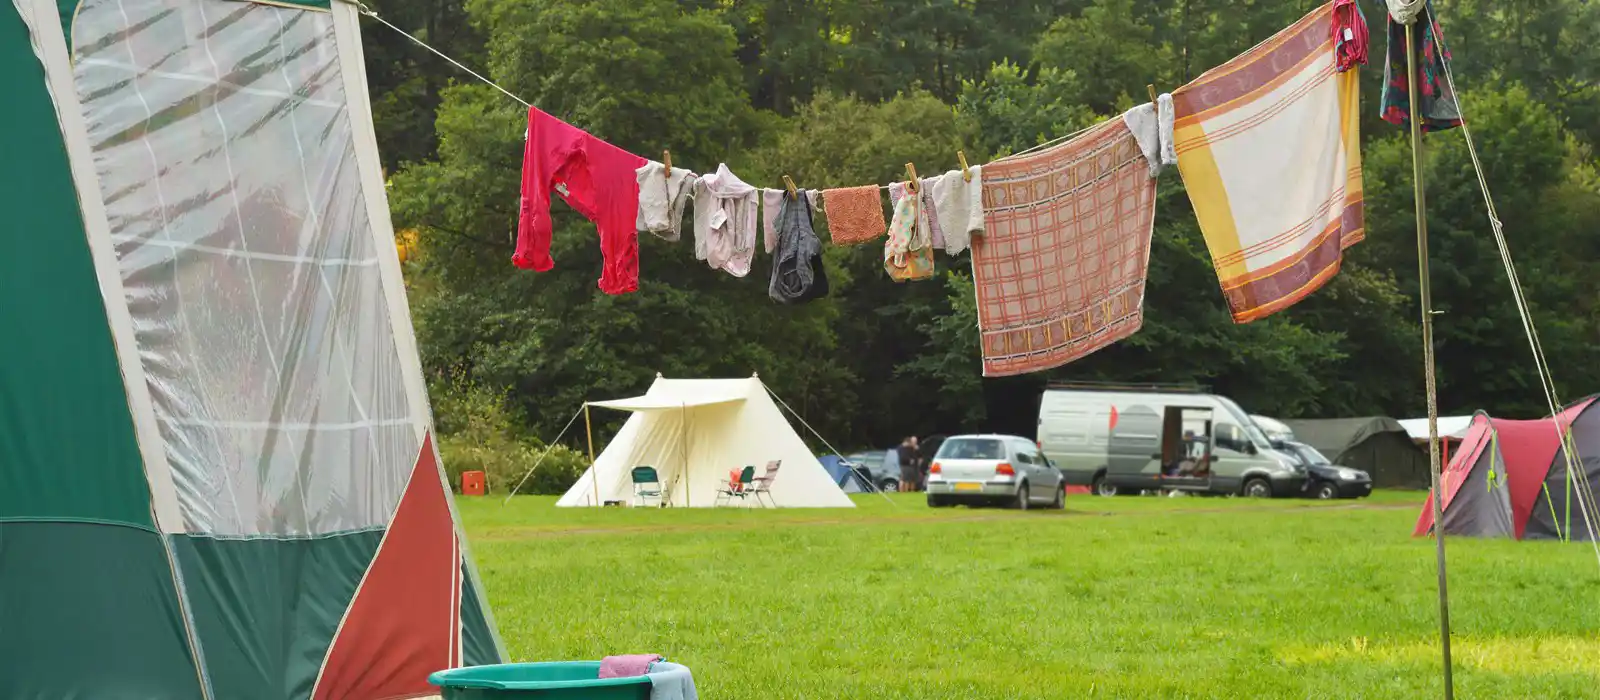
- Tying up a washing line for drying clothes and towels.
Extra groundsheets and tarpaulins are really useful for defining different areas of your camp. If you are planning to have a fire you need to do this well away from your tent - the same goes for using your cooking equipment.
Pitching your tent
Positioning your tent correctly and pitching it securely is important. Camping can be really cosy and good fun even in bad weather, so long as your tent is providing you with adequate shelter. The weather in the UK can change suddenly, so you might be glad you made the effort!
Checking where to pitch
Check the wind direction. Look for and take advantage of natural windbreaks - you want your tent to be as sheltered as possible. Never have your door facing the wind, this will cause your tent to balloon each time you open it and make it highly unstable.
If you are on a slight incline, think about your sleeping position in the tent. You will want to sleep with your head uphill and your feet pointing downhill, so your blood doesn't rush to your head. Avoid sleeping parallel with the slope or you will find yourself rolling downhill!
Clearing the area
Before you lay down and peg in your groundsheet, check that there isn't anything on the ground that could damage it, such as stones, branches or tent pegs left behind by previous campers.
Poles before pegs
Traditional wisdom says that for flysheet first tents, turn your attention the poles first and get them in their sleeves before anything else. After that you can drive in your pegs, going for a 45 degree angle and only using a mallet if you need it.
Pegging in
Having a mallet is useful when it comes to putting the tent pegs in, especially if the ground is quite hard, but if you don't have one search the area for a good heavy rock or ask to borrow one from another camper.
You should knock the pegs in to the ground at a (30-45 degree) diagonal angle facing away from the direction of tension to stop them being pulled out. Make sure the pegs are inserted all the way into the ground, as this not only makes them much more stable but also stops them being trodden on and tripped over - very painful!
Make sure you peg in every peg loop that is available, starting with the corners to get good tension before pegging in the sides. You want your tent as taut as possible, not slack.
It's a good idea to have at least a few spare pegs as they often get lost, bent or left behind. Bent pegs can be straightened out with a mallet or rock.
You should also peg in all of the guy lines to keep your tent as stable as possible. Guy lines should then be tightened so that they are taut - not super tight and but definitely not slack - they will shrink and loosen somewhat according to whether they are wet or dry and you need to allow for this. Don't skip this bit, guy lines are there for a reason and will be vital if it rains or the wind picks up.
Pitching a large tunnel tent
To see the full process demonstrated by the team at Cross Camping, click the video below.
First, peg the four corners down securely, then slide a roofbar through the roofsleeve on each side of the centre and attach the leg to it on each side.
Now, lift the roof and push the bars further into the sleeve, causing the tent to rise. Attach the ring and pin to the bottom of the pole. Leave the front door open to help let air in.
Next, slide the back roof poles into their sleeves and do the same.
Finally, slide the pole through the furthest back sleeve, and through the front porch sleeve and attach on both sides . Finally work around the tent connecting clips on the tent to the poles and you're done.
Get help
A lot of modern tents are much easier with two people to put them up, and a third who is able to go beneath the flysheet and take some of the weight is a huge bonus. So if you can, grab willing hands to help.
Flysheets
A lot of tents are double skinned- the outer layer being the flysheet. Root around in the sofa till you find the instructions to find out what the situation is inside your own tent. If the manual says to put up the flysheet first, do so and you have a rainproof cover under which to put up the inner in peace.
Putting up the inner first is quicker to pitch, but it won’t keep any rain off in the meantime, so you’ll want to get your skates on. You might find inner and outer layers are attached for pitching, which will make life easy.
Ease of pitch
We’ve all seen the poor family struggling with the hard-to-pitch tent as the light starts to fail – so why risk the family argument? Most modern tents are exceptionally easy to pitch and take down.
Consider using a pop up tent if you feel worried about mastering the poles, or why not invest in an inflatable tent? Replacing steel or fibreglass poles with inflatable beams means your tent will be in shape in a matter of minutes. Here we’ll explore the advantages and disadvantages of these modern tents.
Are air beam tents the best for fast pitching?
Be aware that the time given on the packaging is usually just enough to get the corners pegged and inflated, without the extra minutes getting your tent fully windproof with guy ropes and surrounding pegs.
You still need to peg your new home, get it from the car and lay them on a footprint (essential for this type of tent), but less crawling and stretching will be required for the set up. An electric pump is also part and parcel of getting the quickest pitch times.
Practice makes perfect
You should definitely know how to pitch your tent before you get to your campsite. If you have a garden that is big enough, it's a good idea to practice setting your tent up until you are familiar with the process. If you don't have a garden or your garden is too small, get the braver members of your party to practice setting up in a local park.
This is also the perfect time to check for any damage or repairs to be made from last season and a lot of campers will turn a hose on the tent at this point to test if it’s still ready for the British weather.
Always read the instructions for setting up your tent first instead of just going for it and hoping for the best.
Pitching in different conditions
How do you pitch in the rain?
Ah the great British weather – it’s bound to happen eventually! Keep your tent and a mallet or two (two working together will put up faster) so they’re the first things in your hand as you arrive.
Ideally wear light clothes that will dry easily- think cotton t-shirt and shorts, not jeans that will get soaked. A foam kneeling pad is a nice touch to keep your legs from getting soggy while you hammer.
Aim to get the outer tent up as fast as you can for shelter and perhaps ask kids to stay dry in the car until you’re done so that not everyone needs to towel off. When it’s all finished, aim for a celebratory biscuit and hot cocoa.
How do you pitch on a hardstanding surface?
Hardstanding pitches use a harder surface than grass, such as round gravel pebbles. They’re popular for caravans and motorhomes but in some cases, tents can pitch on them too.
Some modern sites even use a plastic mesh buried in the ground, which tents can peg into and will also never allow heavy vehicles not to get stuck in the mud. The advantage of course, is in not having to move the tent to protect grass beneath you on long stays. Water will drain from the ground better too.
So how do you peg in? The hard surface shouldn’t be very deep so a peg will usually dig straight through. Business as usual, basically!
How do you pitch in the wind?
So you don’t want your prized possession blowing away? If it’s getting gusty, first look for a sheltered pitch, then peg down any part of the tent you can to avoid chasing it across the site. You’re then at leisure to keep building it without too much trouble. The good news is that if you put it up correctly, it should stay firm in all but extreme conditions, so fingers crossed!
How do you pitch on a slope?
If you’re not partial to waking up metres further down the hill, pitch the tent so your head is at the top of the slope and your feet at the bottom when you're in bed to prevent you rolling out of it.
When you get into bed, make sure you're as far up the slope as possible because you'll work your way down during the night. Why not wedge something at the foot of the mattress to minimize movement too and use an anti-slip mat on any tables.
What’s the best way to strike camp, or take down my tent?
A handy way to dig stubborn tent pegs out is to lever them with another tent peg, but make sure you never pull them out by the guy rope. Just like pulling a plug out of its socket by the cord, that’s asking for an accident.
If you have an air beam tent, here’s another very popular method for getting it deflated and folded away and can also help to other tents of pesky air pockets. You need to bring the rear off the tent into the middle then the front back to the middle and keep doing that until it reaches bag-size. After that, roll towards the open end of the air beam and push remaining air out.
How do I take down an airbeam?
No need for pumps here, just unscrew the non-return valve and let nature do its thing. You can help things considerably by whipping off your shoes and treading slowly from the end of the beam along its length to push out the air.
How can I take down my tent in the rain?
The skies have opened but you’re still heaving out pegs? Don’t panic! It’s time for some damage limitation.
If you know ahead of time that it will rain, pack up as much as you can early and line the trusty car boot with a waterproof tarp or similar. Now, get the car as close to the tent as you can and get bedroom pods into the tent bag and in the boot. You then need to unpeg to main shell, which is likely to go fast with drizzle on your neck.
Give the tent a good shake as you fold it up and tip it, where possible, to stop water puddling on it. Fold wet parts onto wet parts so that the doors remain outside of your tent package to stop water seeping inwards into the dry inner tent. This is called ‘wet to wet’ packing up by campers.
Now, run for the hills!
How do I get the tent back in its seemingly tiny bag?
As soon as the tent springs forth from its original packaging you’ll realise that it seems the only way it could ever go back in would be by bending the laws of physics. Just like your sleeping bag, it seems mammoth compared to its case.
Let’s start by saying that you don’t have to stick with the bag or case that you were given. If it’s just too much of a squeeze and you have boot space, upgrade to something like the Isabella Bag.
If you’re going for the big crunch, though, first judge how the tent must be folded to match your bag. Is it thirds? Quarters? You can remove bedrooms and bag them separately to ease space.
Then, fold with all air points and zips open and use your bodyweight (shoes off!) to push air out of the tent. Keep your tent at the width of the bag by tucking in any cheeky outlying material and constantly measure it against the bag.
Your comments about this article
Alan
21/04/2019 21:15I was trying to find a site where I can take a tourer onto a site and leave it there. I would hope they would store it over winter and over the season I could just go to it as and when I wanted to. I am willing to pay an annual site fee to include electric and gas. Can you advise as I am a novice in this area
Martin Smith
22/04/2019 09:01Have a look at our listings of 250+ sites offering seasonal pitches Alan :-)
- Why go camping?
- Camping statistics
- How to plan a camping trip
- Equipment and gear: what to take camping
- How to choose a campsite
- Camping etiquette and campsite rules
- Choosing a pitch and setting up camp
- Breaking camp
- How to keep warm when camping
- How to avoid midges, wasps and other insects while camping
- Camping with dogs
- Camping with campfires
- Camping tips, hacks and tricks
- Beware carbon monoxide poisoning
Download our list of everything of you need to remember for the perfect camping trip!
DownloadIn the UK, you don't have to travel far to see some amazing sights.
We're lucky enough to have world-besting landscapes, history and wildlife right on our doorstep.
Where will you explore next?
Explore Destinations